Lazy loading is a pattern in software development that allows you to load resources only when needed. This pattern can reduce the upfront cost of operations like loading a web page. Search engines like Google have increasingly focused on webpage performance as an input when deciding search engine rankings, and by implementing lazy loading correctly, you can have a positive impact on your Largest Contentful Paint (LCP), rankings, and resulting traffic.
The widely used React UI library provides its own approach to this pattern of loading components through React.lazy. This function allows you to lazy load components as you need them, ultimately leading to faster site loading times.
In this tutorial, you'll leverage React's lazy loading mechanism to split code into more manageable chunks in your own applications. You'll also learn about some best practices for lazy loading to avoid common pitfalls.
How Does Lazy Loading Work?
In the context of React components, lazy loading is a mechanism that allows you to flag a given component to be split into a different bundle. In a typical, unsplit React application, your transpiled code will be served as a single bundle for the browser to download. This approach is acceptable for smaller applications. However, as your codebase grows, the bundle can quickly become too large for consistently reasonable loading times. In this case, you might want to consider using lazy loading. Splitting some of your components into separate bundle files and loading them only when they're needed reduces the initial bundle size. This allows the page to load faster.
The downside is that your application now needs to load multiple bundle files. This added loading time will be perceptible while the user waits for the components to appear. You can mitigate this problem by splitting your code into consistently sized chunks and leveraging React's Suspense feature. Suspense allows you to easily show fallback UI while chunks load in the background.
The best way to understand how these pieces fit together is to see it firsthand. The following tutorial will show you how to split a simple application into multiple bundles using React.lazy. The finished code for the tutorial can be found in this public GitHub repo.
Lazy Loading in React
Before starting, you'll need the following installed on your system to follow along:
- A code editor (VS Code is a good choice if you don't have a preference)
- Node.js and npm
Once you've verified that you have these installed, you can get started.
Creating the Project
First, open your terminal and create a new React project by running the following command:
Once this command has completed, navigate into the newly created directory and run the following commands to add the required dependencies that will be used for some simple code splitting examples:
Once these steps are complete, open the project in your code editor. The project contains a bare-bones React application with no large components that can cause significant load times. A simple app like this isn't a great showcase for lazy loading's benefits, so you're going to add a few more components to better observe the impact of lazy loading.
Adding Components
Inside the src directory, create a new directory called components, then create a new file called Date.js inside it. You can do this by running the following commands in your terminal:
Open Date.js in your code editor and enter the following:
This simple component uses an external library (moment) to render the current date. For some variety, you can also create another component that uses an external library. In the src/components directory, create another file called CatFact.js and add the following to it:
This component uses axios to fetch a random cat fact from a free API. With both of these components created, navigate to App.js and replace its contents with the following:
Viewing the Bundle
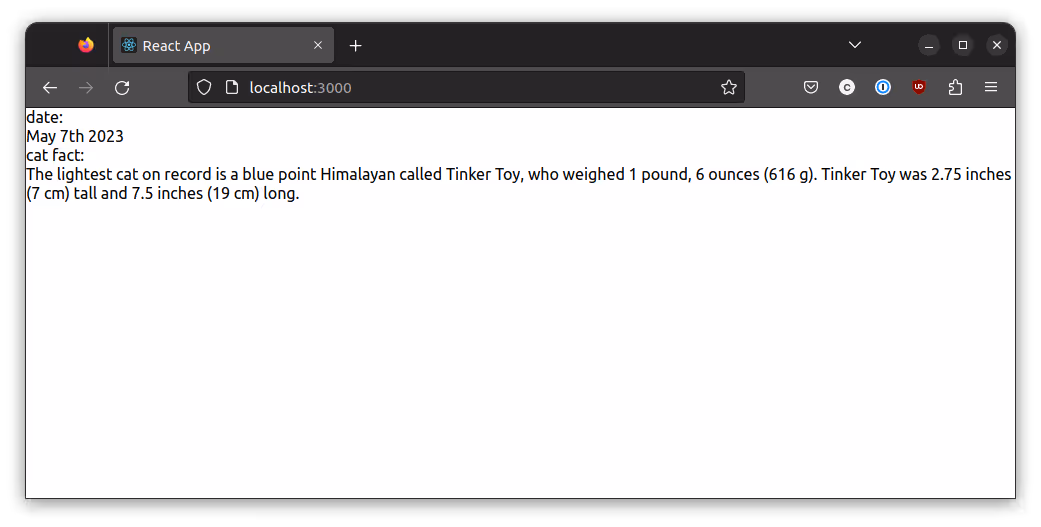
The code above will render your two new components, showing the date and a cat fact. To see this in action from your terminal, run npm run start. This command should open your browser, pointing to http://localhost:3000:
To see how this page is bundled, you can view your browser's network dev tools. The shortcut to open the dev tools varies between browsers and operating systems. In most cases, you can right-click somewhere on the page and select Inspect. In the new open panel, navigate to the Network tab. The Network tab has a number of sub-tabs for different types of content. Click the JS tab to see the bundle.
If the page has already been loaded once, your browser will try to load the content from the cache on subsequent page loads. This is normally a good thing, as it speeds up page loads. However, it can be inconvenient when you are trying to see bundle sizes, as in this tutorial. You can force your browser to re-request the content from the server by doing a hard reload. The steps for doing this also vary by browser and operating system, but the following is generally true:
- Chrome
- Windows/Linux: Hold down Ctrl and click the reload button
- Mac: Hold down Shift and click the reload button
- Firefox
- Windows/Linux/Mac: Hold down Shift and click the reload button
Once you hard-reload the page with the dev tools open, you should see a pane detailing the network requests made by the current page:
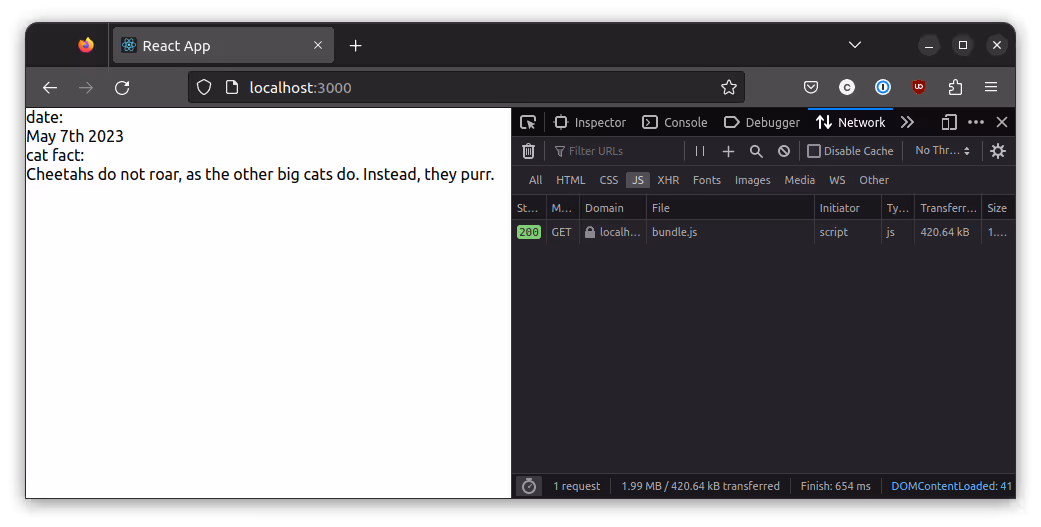
You can see that one .js asset was loaded with a file size of 420.64 KB. This is the initial bundle size. Once you implement lazy loading, you should see this number go down.
Implementing Lazy Loading
In the modern version of React, you can easily lazy load components using the built-in React.lazy function. To see this in action, go back to your App.js file and replace the import statements for the Date and CatFact components with the following:
These statements will now lazy load the components, only fetching them when they actually need to be displayed. Save this change, go back to your browser, and perform another hard reload. You should see that more .js assets are now loaded:
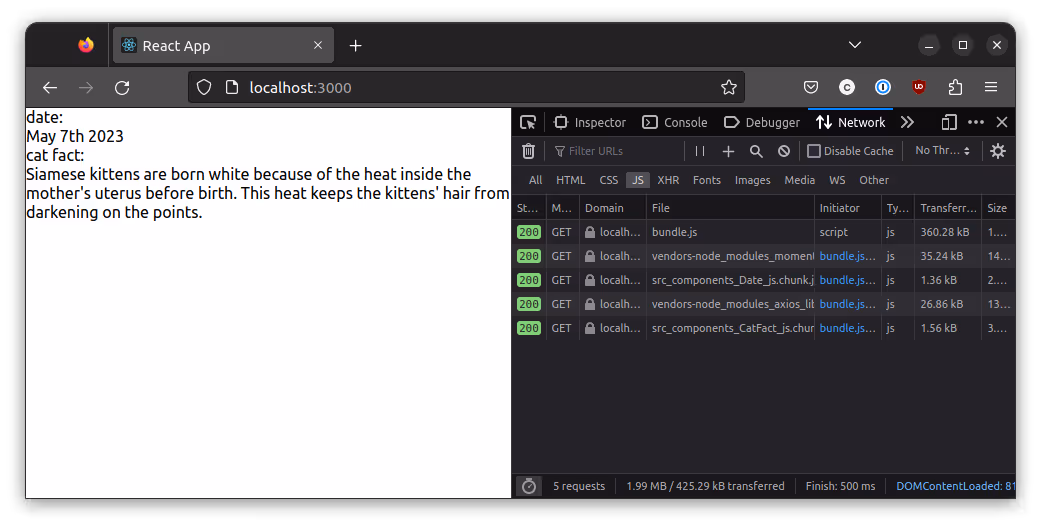
React has split the bundle into five pieces. You still have the original bundle.js—although it's now smaller, at 360.28 KB—but there are also separate files for axios, moment, Date, and CatFact. Vendor dependencies like axios and moment are split into their own files so that they don't need to be included in each lazy-loaded chunk. This way, their code won't be sent multiple times, which could negatively impact the load time. If you lazy load another component that uses these libraries, they will still only load once for each vendor library, regardless of the number of lazy-loaded components that use them.
Best Practices for Lazy Loading Components
If you apply lazy loading in your own project, there are a few things that you should be aware of. Improper implementations may not provide performance benefits and could actually have a detrimental effect.
Be Aware of Sequential Request Chains
Lazy loading may cause long chains of sequential requests. This can happen if you lazy load many components that all get requested around the same time. If every single component must be loaded separately, the overhead of sending multiple HTTP requests can quickly outweigh the benefit of using lazy loading. This problem becomes particularly troublesome when it occurs during the first page load. In such cases, the page may end up taking more time to load compared to a scenario where no code splitting is performed. To mitigate this, avoid lazy loading components that need to be rendered on the initial page load. It's also a good idea not to break your bundle chunks down too small but to instead prefer a more systemic approach such as route-based code splitting. This allows you to strike a balance between the size of your chunks and how many you need to load.
Avoid Lazy Loading Required UI Elements Above the Fold
Another important consideration when implementing lazy loading is its impact on Google’s Core Web Vitals. While lazy loading can improve performance of web applications overall, you want to make sure it doesn’t come at the expense of usability.
Unfortunately, websites that implement lazy loading tend to have a higher LCP. But, you should be able to get both the benefits of lazy loading with the benefits of a small LCP so long as you only lazy load resources and images “below the fold.” This means that the first screen of UI elements should be loaded traditionally, but as the user scrolls down, you can implement lazy loading on subsequent resources.
Consider Route-Based Code Splitting
Route-based code splitting is an effective approach to use with lazy loading. In this paradigm, a router like React Router is utilized along with lazy-loaded components to produce consistently sized bundles. The technique involves loading each page through lazy loading, as defined by the router. This way, the pages are only fetched when they are needed. To see how this works, you can apply route-based lazy loading to the example code used earlier.
Open index.js and replace its contents with the following:
The BrowserRouter component provides your app with the necessary context for the router. Next, replace the contents of your App.js file with the following:
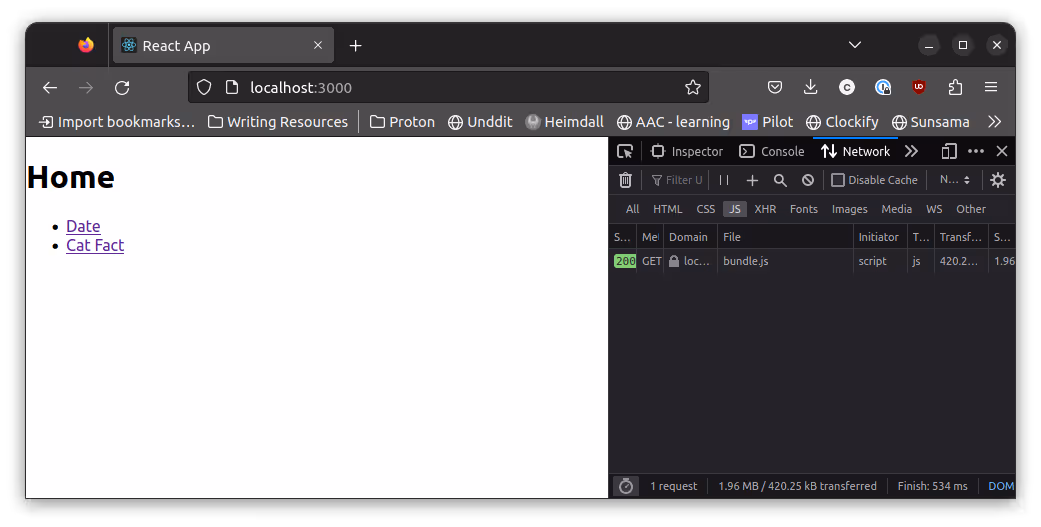
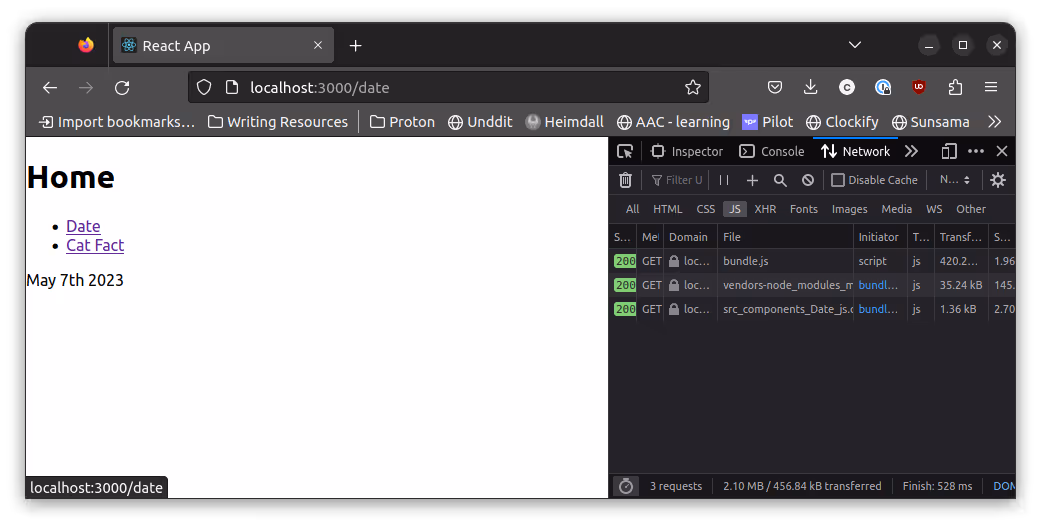
This new structure utilizes React Router to conditionally display components depending on which route is selected. Because the components you're using for each router are lazy-loaded, the content of each page will only be fetched when it is needed. React's Suspense component is also used to specify a fallback component to use while the lazy-loaded component is being fetched. You can see the route-based code splitting in action by hard-reloading your app and paying attention to the network calls in the dev tools. On the initial page load, only the base bundle will be fetched:
When you click either of the links, the bundles corresponding to that page will be loaded in:
This is a good example of the power of route-based code splitting. You can imagine how this would extrapolate to a larger application with heavier components. By splitting code this way, you create reasonable seams that result in consistent bundle sizes for your lazy-loaded components.
Use Default Exports
Finally, you should be aware that React.lazy is only compatible with default export components. If you're working in a codebase that mainly uses named exports, you can define modules that import the existing code and then re-export it as a named export, like so:
This proxy module can then be lazy loaded, as you've seen in these examples.
Final Thoughts
In this tutorial, you learned about React's lazy loading mechanism. You saw how it can be used to reduce your initial bundle size and read about a few best practices you can leverage when working with lazy-loaded components to avoid common pitfalls. Lazy loading is an effective tool for achieving measurable application performance gains.
If you are lazy loading a webpage on your website, you should make sure to avoid lazy loading any images above the fold. Otherwise, you may notice that your LCP will actually increase as a result.
At Positional, we are building tools for content marketing and search engine optimization (SEO) teams. We have a number of tools for content optimization, technical SEO, and keyword research. If you have any additional questions about lazy loading and the impact on SEO, feel free to reach out to us as support@positional.com.